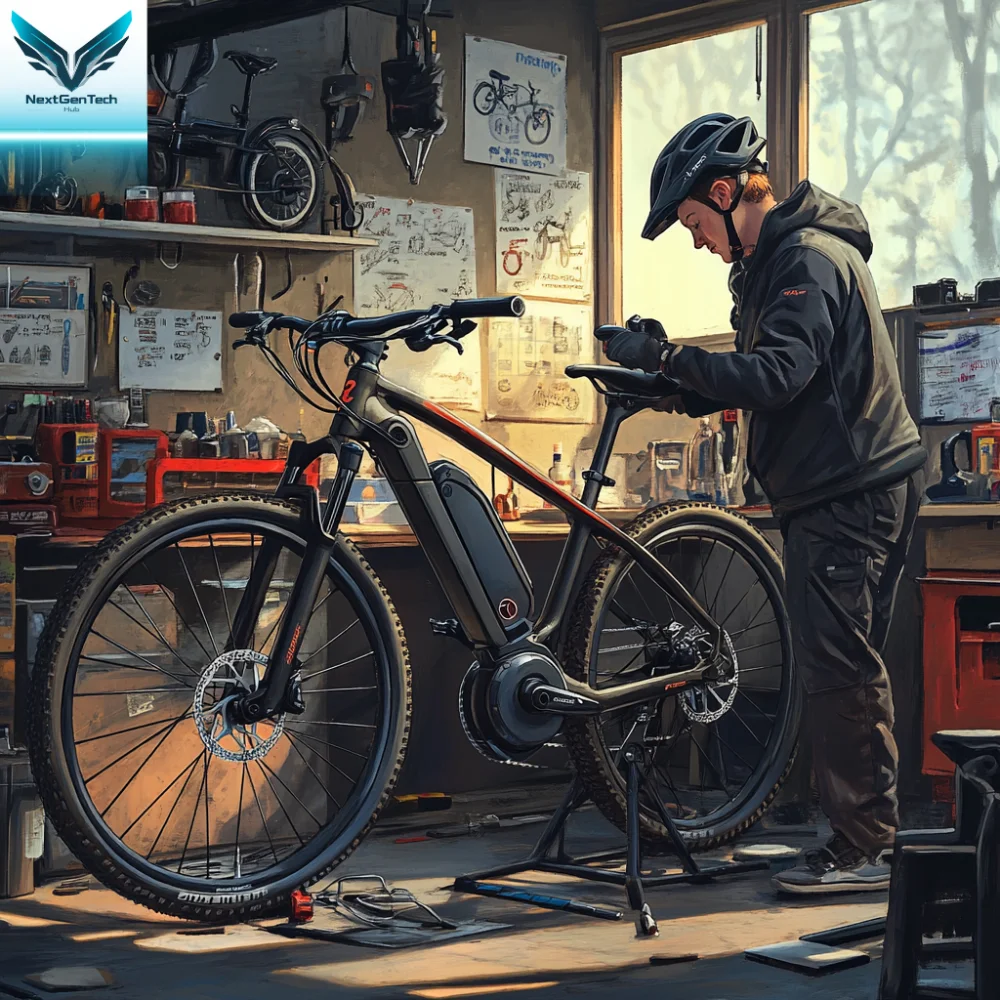
Electric bikes (e-bikes) are quickly becoming a popular choice for urban commuters and recreational riders due to their convenience, eco-friendliness, and ability to cover longer distances with less effort. However, maintaining an e-bike can be daunting for new riders unfamiliar with its components and specific care requirements. This guide is designed to provide a detailed, step-by-step approach to electric bike repair and maintenance, helping you keep your ride in top condition and ensuring longevity and safety. From understanding basic components to advanced repair techniques, this comprehensive guide is your go-to resource for all things e-bike care.
Table of Contents:
- Introduction: Why Electric Bike Maintenance is Essential
- Step 1: Understanding E-Bike Components
- Step 2: Routine Pre-Ride Checks
- Step 3: Weekly and Monthly Maintenance
- Step 4: Common E-Bike Repairs
- Step 5: Essential Tools for Maintenance
- Top E-Bike Models and Accessories
- FAQs
- Conclusion
Why Electric Bike Maintenance is Essential
Electric bikes range in price from around $800 to over $5,000, depending on the brand, model, and features. Given this investment, regular maintenance is not just beneficial; it is crucial. A well-maintained e-bike not only lasts longer but also performs better, providing a safer and more enjoyable riding experience. Research suggests that consistent upkeep can extend the lifespan of an e-bike by 50% and reduce potential repair costs by as much as 30%.
Step 1: Getting to Know Your E-Bike’s Components
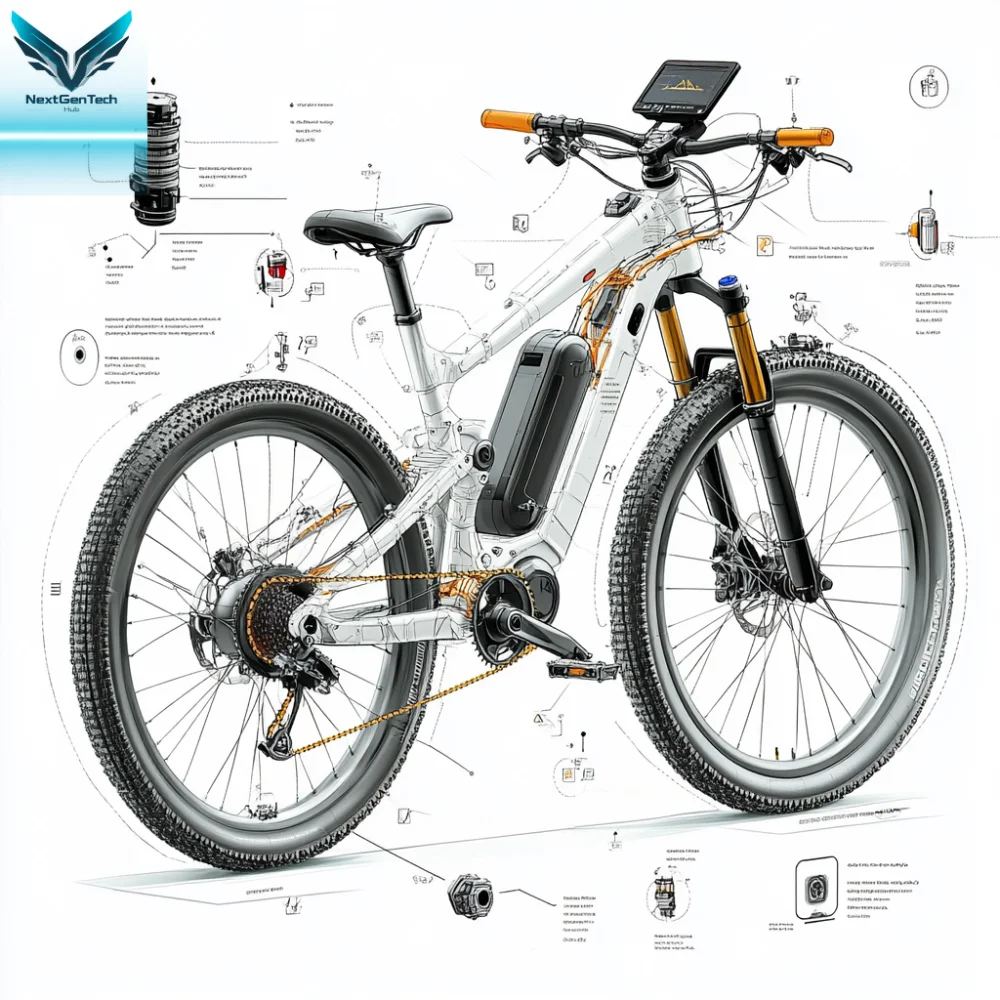
Understanding the fundamental parts of an e-bike is the first step in performing maintenance and repairs. Familiarity with each component’s function will allow you to diagnose and address issues more effectively.
- Motor: The motor is the powerhouse of an e-bike, responsible for providing pedal assistance. E-bikes may have hub motors (located in the wheels) or mid-drive motors (situated near the pedals). Each type has different maintenance needs. For example, a hub motor might require wheel removal skills, whereas a mid-drive motor involves more complex drivetrain considerations.
- Battery: The battery is the primary power source for an e-bike. Typically, lithium-ion batteries are mounted on the frame or integrated into the design. Maintaining battery health is vital as it directly impacts the range and performance. Batteries typically range from 250Wh to 750Wh, with prices for replacements varying between $300 and $700.
- Controller: The controller manages the flow of electrical power from the battery to the motor. It ensures smooth acceleration and efficient power use. If the e-bike experiences erratic power delivery or fails to start, the controller may need troubleshooting or replacement.
- Display Panel: The display unit provides real-time information, including speed, battery level, and power mode settings. Advanced models offer additional features like GPS navigation and connectivity with smartphone apps.
- Brakes: Most e-bikes are equipped with disc brakes for superior stopping power, essential given the extra weight and speed of e-bikes. Regular checks and replacements are necessary to maintain optimal safety.
- Drivetrain: This includes the chain, cassette, derailleur, and pedals. The drivetrain translates motor power and rider input into forward motion. Regular lubrication and cleaning are essential for a smooth ride.
Step 2: Routine Pre-Ride Checks for Safety and Efficiency

Performing quick checks before every ride can prevent minor issues from becoming major problems. A daily pre-ride inspection takes just a few minutes but can significantly enhance safety and performance.
- Tire Pressure and Condition: E-bikes typically operate best with tire pressures between 40-65 psi. Ensure your tires are inflated to the recommended level to optimize battery efficiency and prevent flats. Inspect for any visible damage, such as cracks, cuts, or punctures.
- Brake Functionality: Test both front and rear brakes by squeezing the brake levers to ensure they engage smoothly and effectively. Look at the brake pads; if they are worn thin, replace them promptly. Keeping the brake rotors clean and free from debris is essential for optimal braking performance.
- Battery Charge Level: Confirm that your battery is fully charged before setting out. Riding with a partially charged battery reduces range and can accelerate battery degradation over time.
- Lights and Reflectors: Ensure that all lights are operational and reflectors are intact, especially if riding in low-light conditions. Visibility is crucial for rider safety.
Step 3: Weekly and Monthly Maintenance Practices
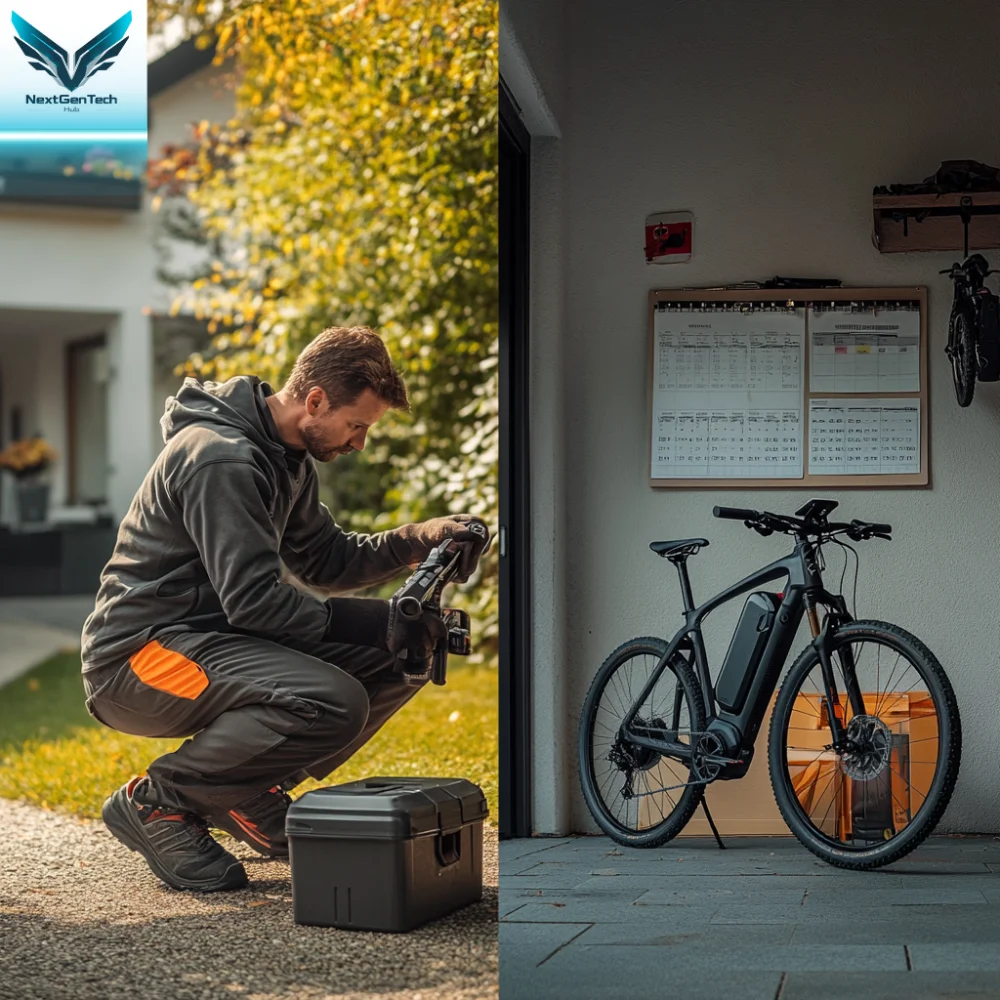
Regular maintenance is key to extending the lifespan of your e-bike and ensuring a trouble-free riding experience. Here’s a breakdown of essential weekly and monthly maintenance tasks:
Weekly Maintenance
- Clean the Frame and Components: Keeping your e-bike clean prevents dirt and grime from causing premature wear. Use a damp cloth and mild cleaner for the frame, but avoid direct water spray on electrical parts. Cleaning after riding in muddy or wet conditions is particularly important.
- Lubricate the Chain: Keeping your chain lubricated is essential for smooth and efficient riding. Select a lubricant made specifically for bicycles and apply a small amount along the length of the chain. Be sure to distribute it evenly, allowing it to penetrate the links and rollers. After lubricating, use a soft cloth to gently wipe away any excess to prevent dust and debris from sticking to the chain
- Inspect for Loose Bolts and Screws: Regularly check that all bolts, particularly those securing the motor, battery, and handlebars, are tight. Use a torque wrench to ensure they are tightened to manufacturer specifications.
Monthly Maintenance
- Examine Tire Tread and Wear: Check the tire tread for wear and tear. If the tread is worn or there are visible signs of damage, consider replacing the tires with puncture-resistant options to enhance safety and performance.
- Check Battery Connections and Health: Periodically inspect the battery connectors for any signs of corrosion or loose connections. Use a multimeter to check the battery voltage and compare it to the manufacturer’s specifications.
- Review Brake Pads and Disc Rotors: Check the brake pads for wear and ensure the disc rotors are not warped or damaged. Regularly replacing brake pads will prevent more costly repairs to the rotors or calipers.
- Assess the Drivetrain: Examine the chain, cassette, and derailleur for signs of wear. A chain wear indicator tool can help determine when to replace a worn chain before it causes damage to more expensive components.
Step 4: Addressing Common E-Bike Repairs for New Riders
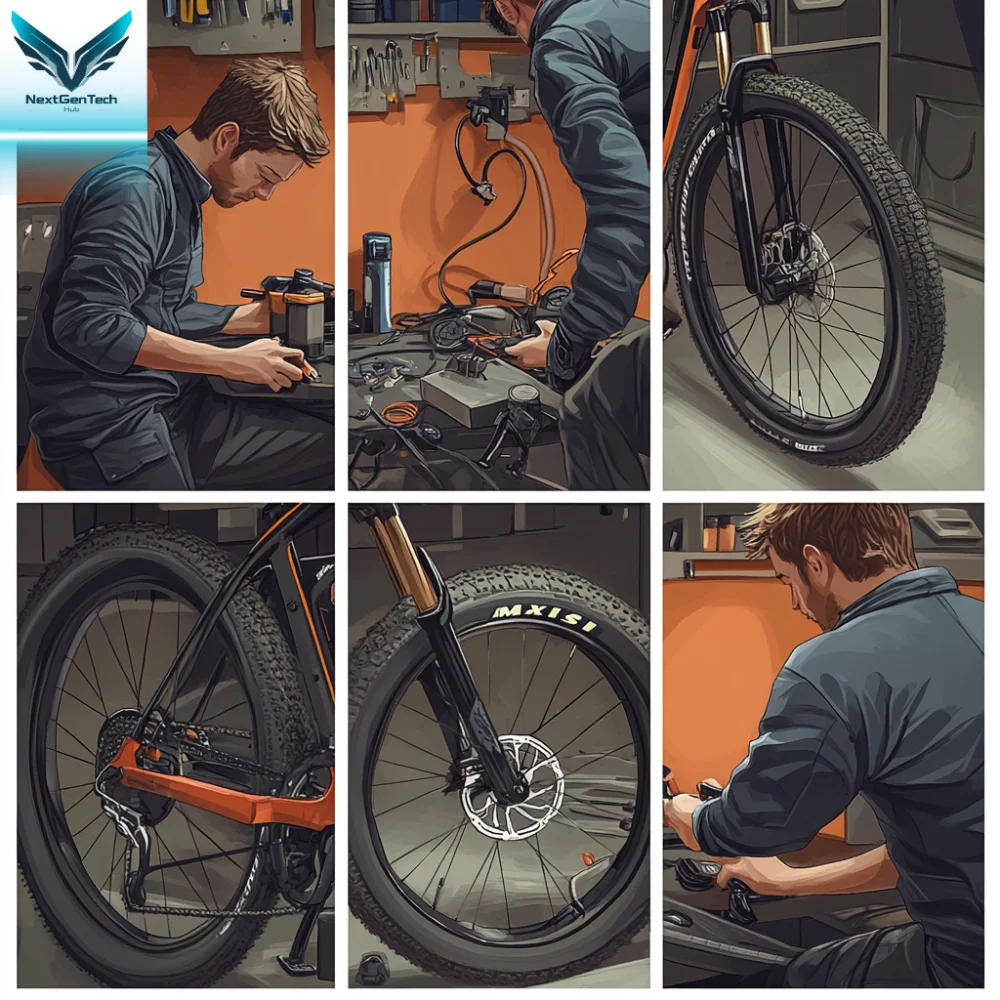
Understanding how to perform basic repairs is essential for any e-bike rider. Here are the most common repairs you may need to handle:
1. Fixing a Flat Tire
Flat tires are a frequent challenge for cyclists, but they can be easily addressed with the right tools and techniques:
- Remove the Wheel: For a rear flat, start by carefully disconnecting any motor wires to avoid damage. Then, use a wrench or quick-release mechanism to loosen the axle nuts and lift the bike to detach the wheel.
- Take Off the Tire and Inner Tube: Use tire levers to carefully lift the tire’s edge away from the rim. Once part of the tire is off, remove the inner tube from inside the tire.
- Find and Repair or Replace the Tube: Inflate the tube slightly to help locate the puncture. Listen for any hissing sound or submerge the tube in water to spot bubbles. If the damage is minor, use a patch kit to seal it. For more extensive damage, it’s best to replace the tube altogether.
- Reassemble and Inflate: Refit the tire onto the rim with the tube properly positioned inside. Inflate the tire to the manufacturer’s recommended pressure to ensure a safe and smooth ride.
- YouTube Video Recommendation:
2. Replacing Worn Brake Pads
Brake pads are critical for safety and require replacement when worn out to maintain effective braking power:
- Remove the Existing Brake Pads: Begin by opening the brake caliper. Carefully slide out the worn brake pads. Depending on the brake model, you may also need to remove a retaining pin.
- Install New Brake Pads: Place the new brake pads into the caliper, making sure they align correctly. Secure them with the retaining pin or clip, taking care not to touch the pad surface with your hands to avoid contamination from oils.
- Test and Adjust the Brakes: Once installed, test the brakes by squeezing the levers to confirm they are engaging correctly. If necessary, adjust the brake calipers to ensure they function properly.
YouTube Video Recommendation:
3. Troubleshooting Battery Issues
Battery problems can range from simple connection issues to more complex faults. Here’s a guide to troubleshooting:
- Check Connections and Mounting: Ensure all battery connections are tight and free of corrosion. Clean any rust with a wire brush or contact cleaner.
- Test Voltage Levels: Use a multimeter to check the battery voltage and compare it to the optimal range specified in the user manual.
- Consider Replacement: If the battery fails to hold a charge or shows significantly reduced performance, it may be time to replace it. Consider batteries from reputable brands like Bosch, Shimano, or Panasonic for reliability.
Step 5: Must-Have Tools and Products for E-Bike Maintenance
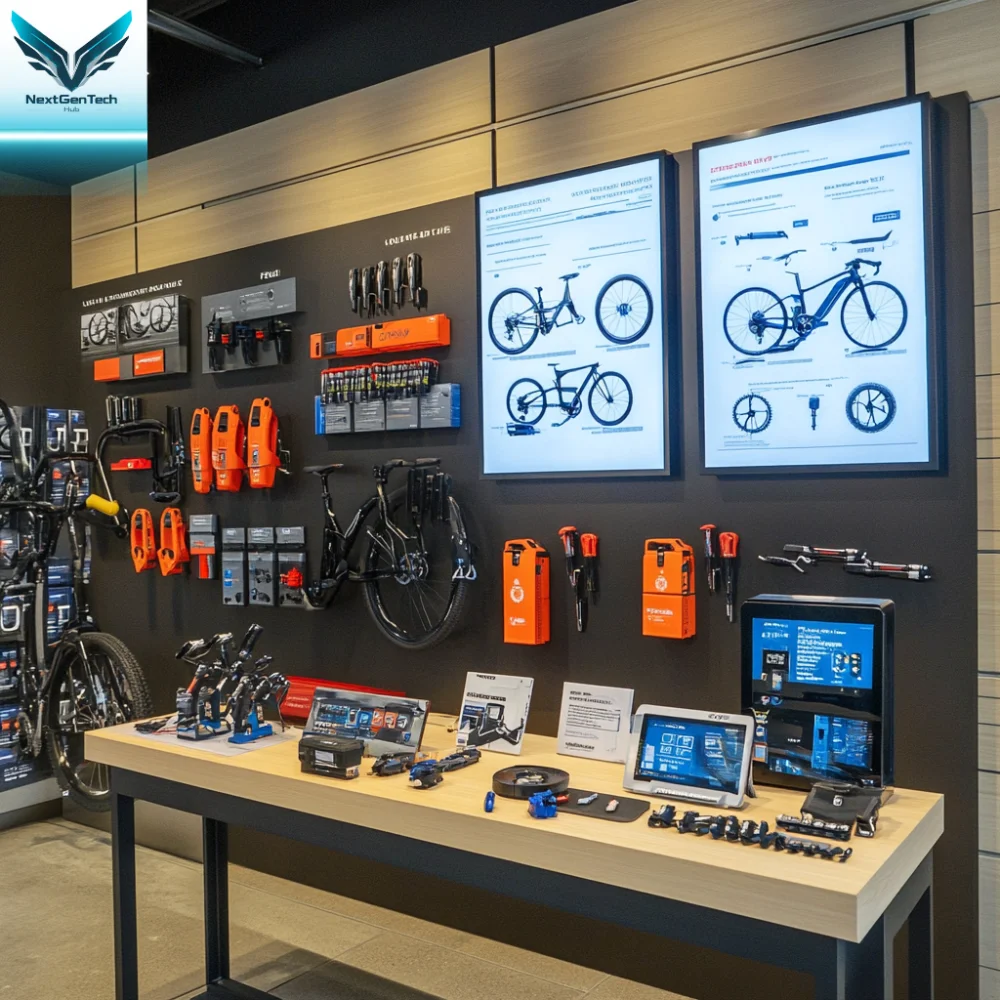
Investing in the right tools can make maintenance easier and more efficient. Here are essential items every e-bike owner should have:
- Multi-Tool Kit: A compact toolset for tightening bolts, adjusting components, and performing quick repairs. Price: $20 – $50.
- Chain Lubrication Kit: Proper chain maintenance is crucial. Look for a kit that includes a cleaner and lubricant. Price: $15 – $30.
- Portable Tire Pump: A must-have for maintaining optimal tire pressure on the go. Price: $30 – $70.
- E-Bike-Specific Lubricants: Designed to protect electric components and provide long-lasting lubrication. Price: $10 – $25.
Top E-Bike Models and Accessories to Consider
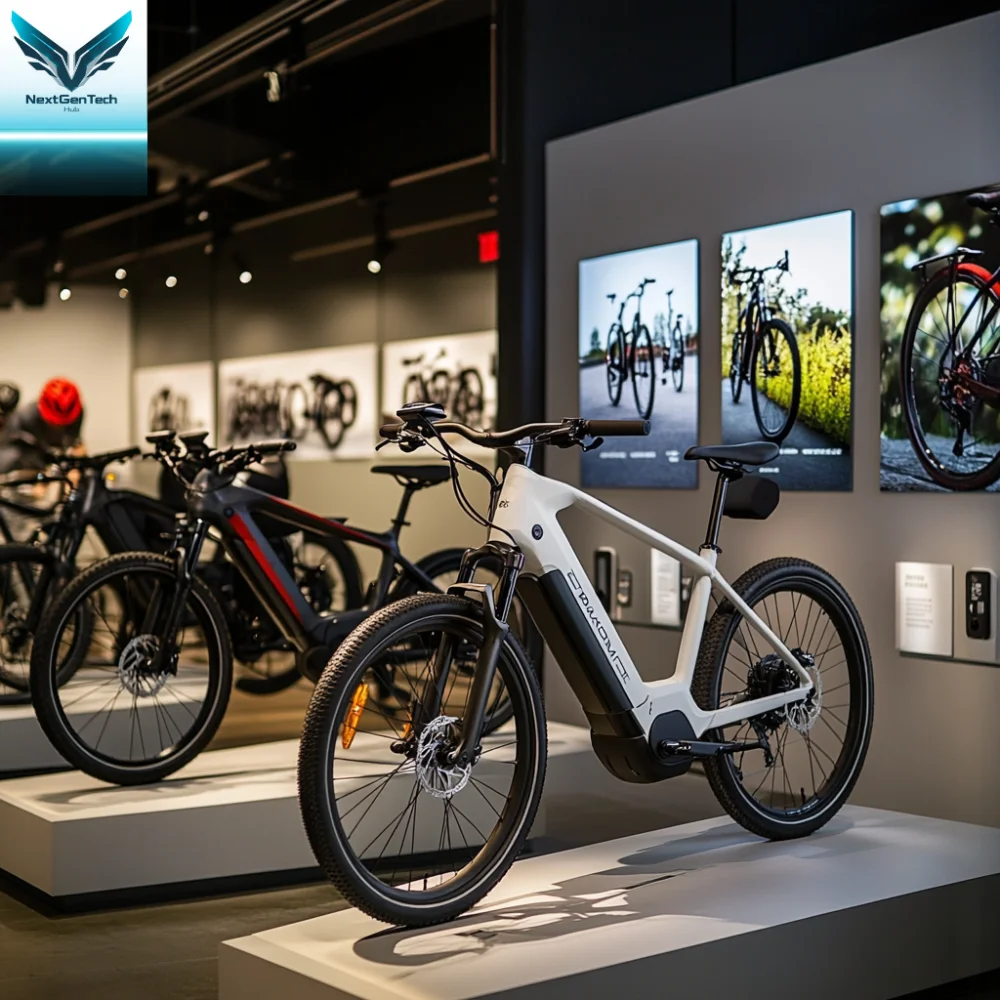
To enhance your riding experience, consider these top-rated electric bikes and accessories:
- Rad Power Bikes RadCity 5 Plus: With a 750W motor and up to 50 miles of range, this is a great option for urban commutes. Price: $1,999.
- Aventon Level Step-Through Commuter E-Bike: Known for its comfort and ease of use, featuring a 500W motor and 40 miles of range. Price: $1,699.
- Thule EasyFold XT 2 Hitch Bike Rack: A premium choice for transporting e-bikes safely. Price: $849.
FAQs About Electric Bike Repair and Maintenance

- How often should I perform maintenance on my e-bike?
- Maintenance should be done weekly for basic checks and monthly for more in-depth inspections and repairs.
- Can I use regular bike parts for my e-bike?
- While some parts are interchangeable, critical components like the motor, battery, and controller require e-bike-specific parts.
- How long does an e-bike battery last?
- Generally, e-bike batteries last between 3 to 5 years with proper care and usage.
- What should I do if my e-bike motor fails?
- If the motor fails, check the wiring and controller first. If the issue persists, consider professional repair or replacement, which can cost between $200 and $1,000.
- How can I extend my e-bike battery’s life?
- Store the battery in a cool, dry place, avoid complete discharges, and charge it regularly to prolong its life.
Conclusion
By following these steps and guidelines, you will not only keep your electric bike in optimal condition but also enhance your riding experience and ensure safety. Regular maintenance is key to preventing breakdowns, saving money on costly repairs, and enjoying a smooth and efficient ride for years to come. Embrace the freedom and fun that comes with riding an electric bike, knowing you have the skills to maintain and repair it like a pro!
